Adding a support case
If you have an issue that you can't resolve on your own, the Hyperproof Customer support team is always ready to help you. You can add your support case through the Hyperproof Community. Providing all of the details gets the information we need to our support team allowing them to do some research before they reach out to you.
Note
As you enter information into the Case form, an automatic search is performed based on what you typed. On the right side of the page, a list of articles that may contain the answer to your question is displayed. Take a moment to review the articles for an answer before submitting your support case.
Log in to the Hyperproof Community. If you don't have a login, see Requesting a community login.
At the top of the page, select the Support menu and then select New Support Case.
The Contact Customer Support page displays a form where you can enter your case details.
In the Subject field, enter a short statement about the issue.
In the Description field, provide as many details about your issue as possible.
In the Priority field, select a priority for your issue. The default priority is Medium.
Note
The support team reviews each case and resets the priority based on the information you have provided.
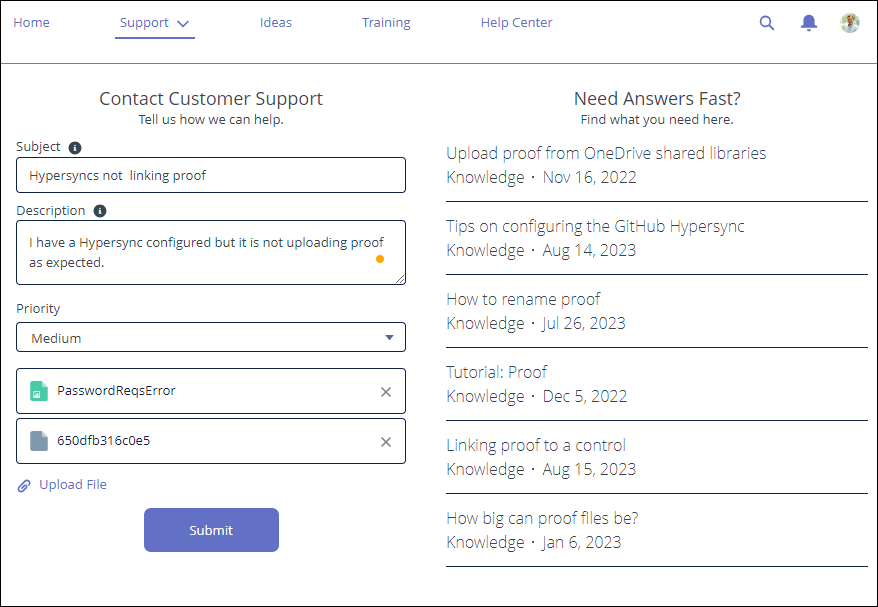
If you have associated files, select the Upload file link to include those files on the case. You can add a maximum of 10 individual files.
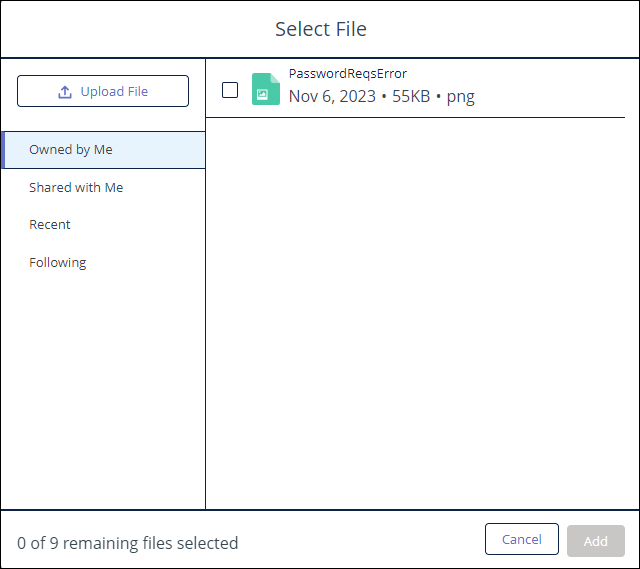
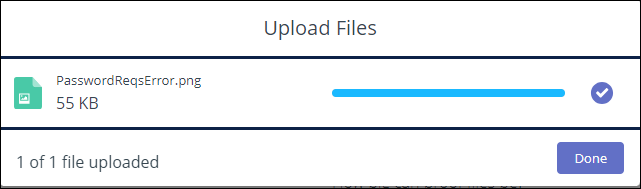
On the Select File window, choose an existing file or click the Upload File button to browse your computer and choose a file.
Click the Done button to close the file upload window.
Click Submit to send your case to the support team.
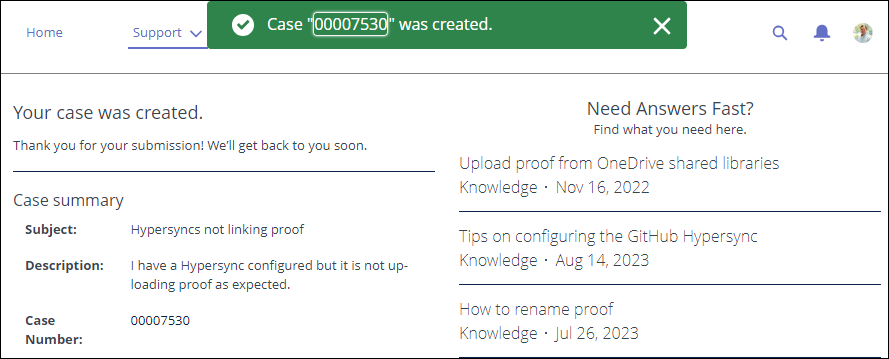
A success message displays and provides you with your case number.