Adding a user to an issue
Roles and permissions
The following roles can add a user to an issue:
Administrators
Compliance managers who are members of the issue
Users who are members of the issue
Limited access users who are members of the issue
To view an issue, a user must be a member of one of the issue’s affected objects, e.g. a control, or directly added to the facepile. That means if you want to make sure you see all issues in an organization, you must either be a member of all objects or be added to all issues directly by the individuals who create them.
Tip
It’s recommended for Hyperproof administrators to be members of all related objects so they do not miss any issues.
Note
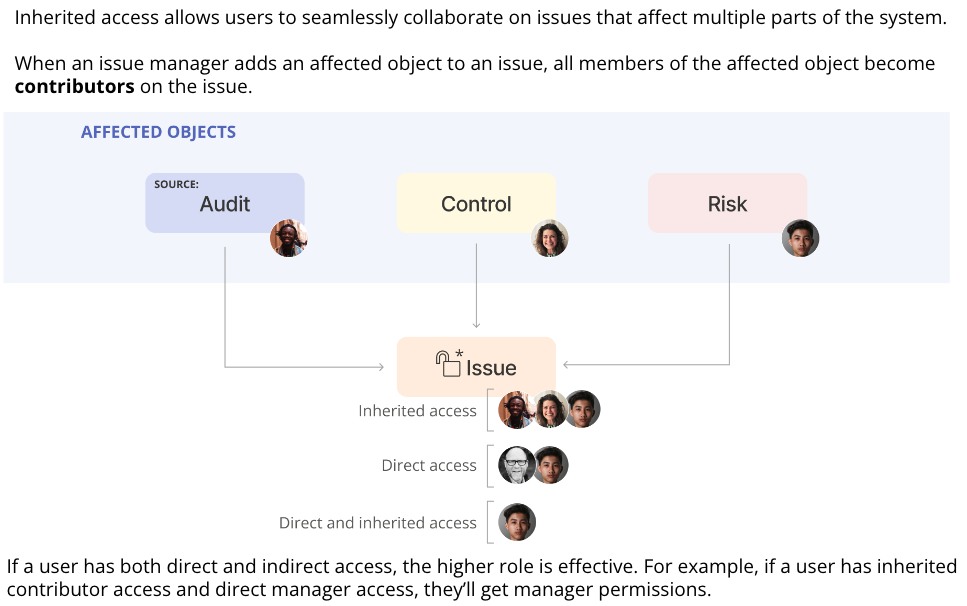
By default, all members of the affected object become contributors of the issue.
For example, if there are four members of a control and an issue is linked to the control, all four of those members now have contributor access to the issue. At this time, users that inherit access via a parent object, e.g. a control, cannot be removed from the issue. In a future update, users will be able to make issues private and that will allow them to remove people from the affected object.
Adding a user or group to a single issue
The steps below explain how to add a user or group to a single issue.
From the left menu, select the tab that corresponds to the issue. For example, if you want to add a user or group to an issue that is linked to a control, select the Controls tab.
Select the specific object. For example, if you want to add the user or group to an issue linked to control ID 1234, select that control.
Select the Issues tab.
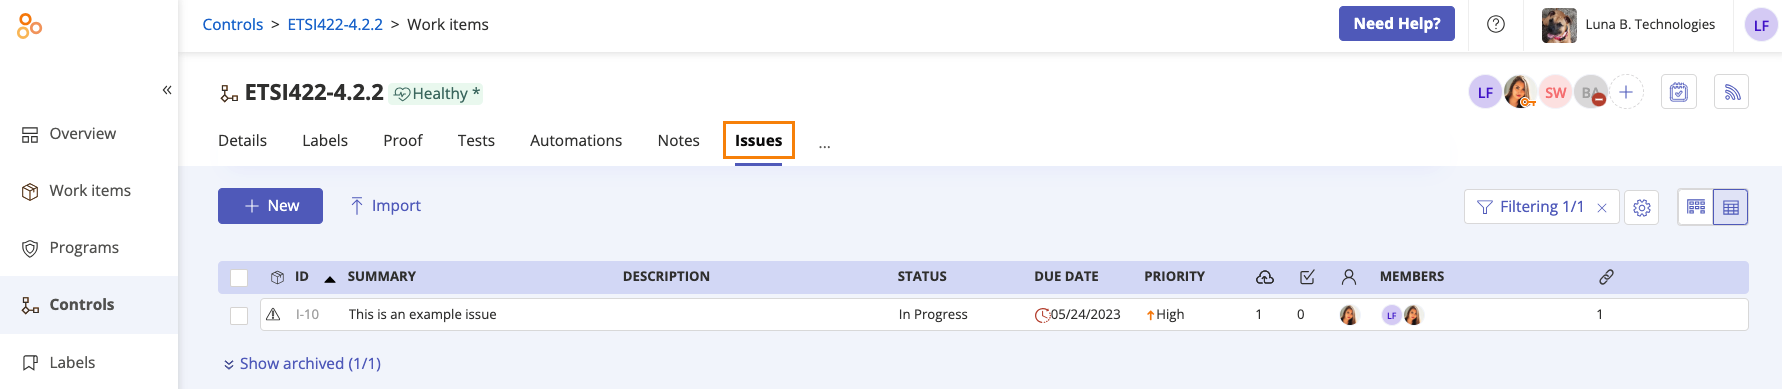
Select the issue.
In the right pane, click the + icon in the facepile.
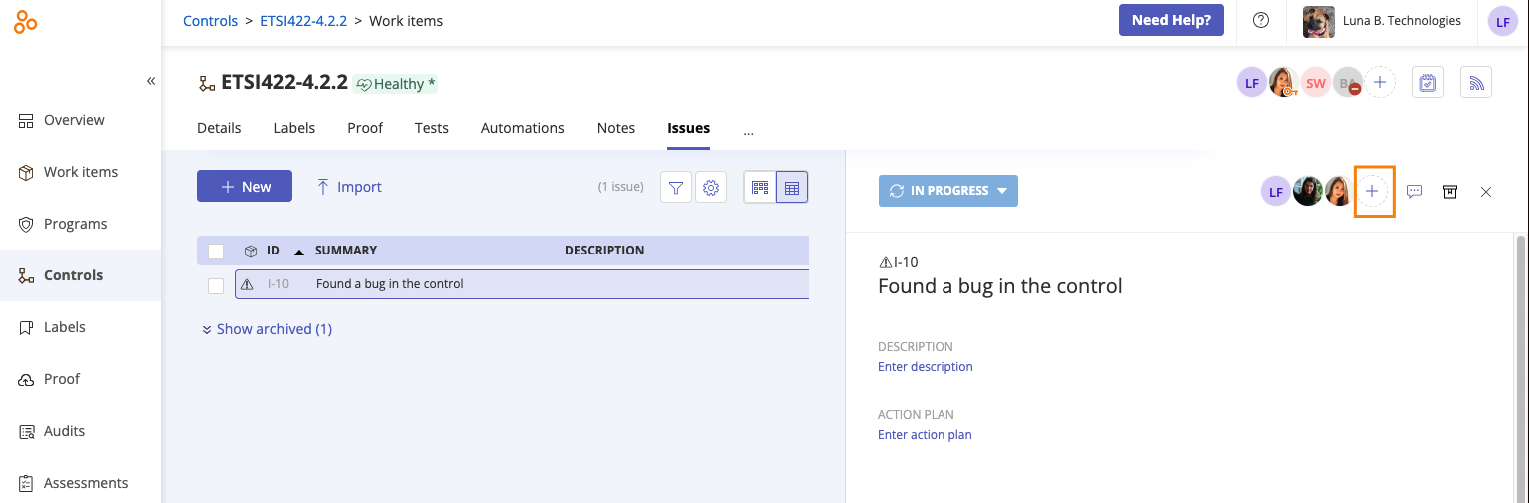
The Member access window opens.
From the Add tab, do the following:
Click Add.
The user or group is added to the issue.
If notifications are enabled, an email is sent notifying the user that they have been added.
Adding a user or group to issues in bulk
The steps below explain how to add a user or group to multiple issues at once.
From the left menu, select the tab that corresponds to the issue. For example, if you want to add a user or group to an issue that is linked to a control, select the Controls tab.
Select the specific object. For example, if you want to add the user or group to an issue linked to control ID 1234, select that control.
Select the Issues tab.
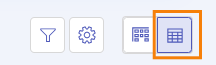
Click the Grid view icon.
Select the checkboxes next to the issues you want to edit.
Click Members.
The Edit direct members window opens.
Locate the user or group whose membership you want to edit, then select the appropriate object-level role next to their name. See Object roles and permissions for more information.
A square in the checkbox indicates that the user or group has object permissions for some of the selected issues. You can modify the setting by clicking the checkbox to make it a checkmark, indicating that the user or group will be added to the selected issues and assigned the selected role for all of the selected issues.
Clearing a checkbox removes the user or group from the selected issues.
Adding a checkmark to a checkbox adds the user or group to the selected issue with the role you chose.
If a checkbox is left as is, no changes are made to that user or group for the selected issue.
Click Review.
The Review and confirm window opens.
Click Confirm.
The issues are assigned to the user or group.
Assigning a single issue to a user or group
The steps below explain how to assign an issue to a user or group.
From the left menu, select the tab that corresponds to the issue. For example, if you want to assign a user or group to an issue that is linked to a control, select the Controls tab.
Select the specific object. For example, if you want to assign the user or group to an issue linked to control ID 1234, select that control.
Select the Issues tab.
Select the issue you want to edit.
In the right pane, expand the Assignee section.
Do one of the following:
To change the individual owner, hover over the current owner, then click the Edit icon. Select a new owner from the drop-down menu.
To change the owner to a group, hover over Individual, then select Group. Click Select group. Select a group from the drop-down menu. If the group has a designated lead, that individual automatically becomes the owner. If the group doesn't have a lead, you can hover over the current owner and select a new owner.
The issue is assigned to the user or group.
Assigning a user or group to issues in bulk
The steps below explain how to assign multiple issues to a user or group at once.
From the left menu, select the tab that corresponds to the issue. For example, if you want to assign a user or group to an issue that is linked to a control, select the Controls tab.
Select the specific object. For example, if you want to assign the user or group to an issue linked to control ID 1234, select that control.
Select the Issues tab.
Click the Grid view icon.
Select the checkboxes next to the issues you want to edit.
Click Assignee.
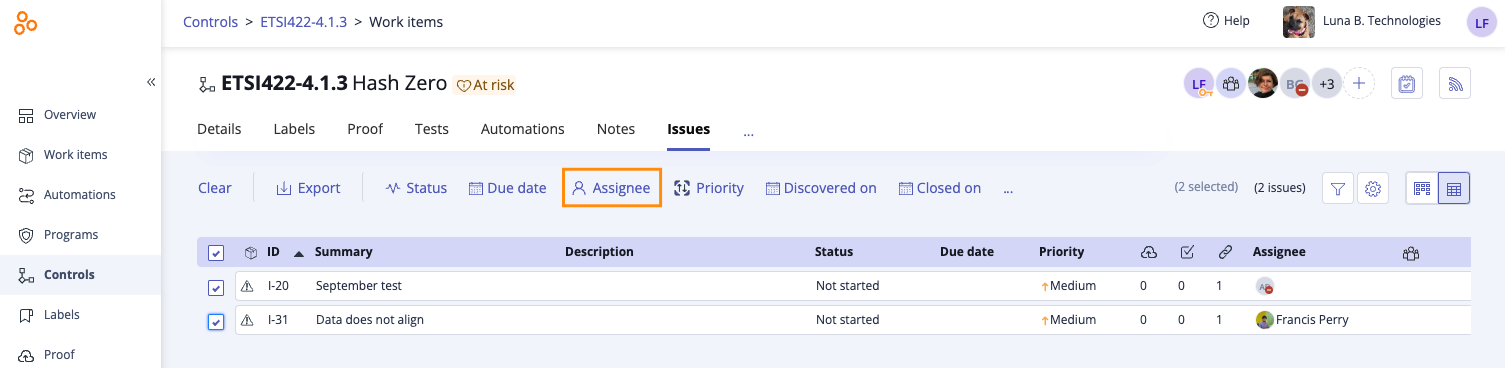
The Edit assignees window opens.
Do one of the following:
To change the individual assignee, hover over the current assignee, then click the Edit icon. Select a new assignee from the drop-down menu.
To change the assignee to a group, hover over Individual, then select Group. Click Select group. Select a group from the drop-down menu. If the group has a designated lead, that individual automatically becomes the assignee. If the group doesn't have a lead, you can hover over the current assignee and select a new assignee.
Click Review.
The Review and confirm window opens.
Click Confirm.
The issues are assigned to the user or group.