Attaching an existing ServiceNow task to a Hyperproof task
Roles and permissions
The following roles can link a ServiceNow task to a Hyperproof task:
Anyone with manager or contributor permissions for the Hyperproof task
To ensure that proof collected on a task is attached to a Hyperproof object, such as a control, you can link an existing ServiceNow task to a new or existing Hyperproof task.
Tasks can be created from within an object that supports tasks, such as controls, or from the Work items page. For more information, see Creating a task.
Create a new task or locate an existing task. See Creating a task.
Complete the fields on the left side of the task window.
Tip
Task titles have a 250-character limit.
If this is the first time you are using the ServiceNow integration, follow the steps below to authenticate using your ServiceNow user credentials.
Click the ServiceNow integration icon in the upper-right corner.
The Create connection window displays.
In the Instance field, enter your ServiceNow instance name. You can find this by logging in to ServiceNow and copying the first part of the URL. For example, if your ServiceNow URL is
https://your-company-name.service-now.com, then your instance name isyour-company-name.Enter your ServiceNow username.
Enter your ServiceNow password.
Click Submit.
Click the ServiceNow icon under Integrations and select Attach an existing task.
Select a task type.
Type part of the title or the ID of the task you want to link in the Search field and press Enter.
Note
You must press Enter to initiate the search in ServiceNow.
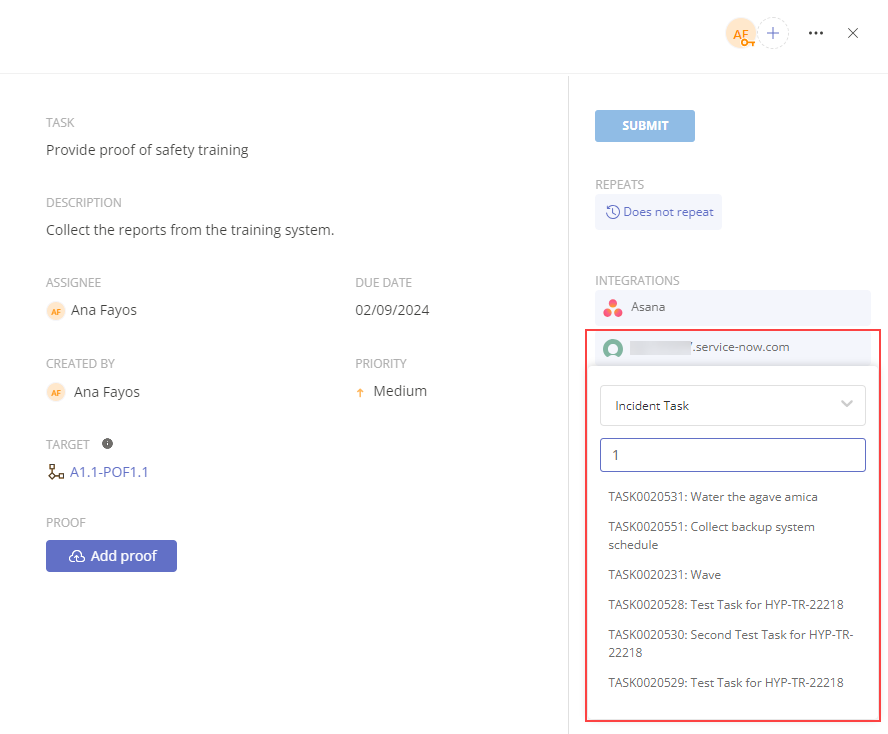
Select the ServiceNow task from the list displayed.
A confirmation window displays and warns you that the Hyperproof task information will be overridden by the linked ServiceNow task.
Click Confirm to link the two tasks.
If you have linked the ServiceNow task to a new task, click Create to save the new task.
If you have linked the ServiceNow task to an existing task, click the X to close the task window.