Configuring private proof
Roles and Permissions
The following roles can make proof private:
Anyone with manager permissions for the proof
You can make existing proof private anywhere proof is available in Hyperproof from the facepile on the proof viewer. You can also make proof private from the Proof Picker when adding new proof. Private proof can only be accessed by direct members of that proof. See Private proof and Unlocking private proof for more information.
Making proof private from the proof viewer
From the left menu, select Proof.
Use the Search all proof option to look for the piece of proof you want to make private.
From the proof list, click the name of the proof.
The Proof viewer opens. See Viewing proof.
Click the facepile at the top of the viewer.
The Member access window displays.
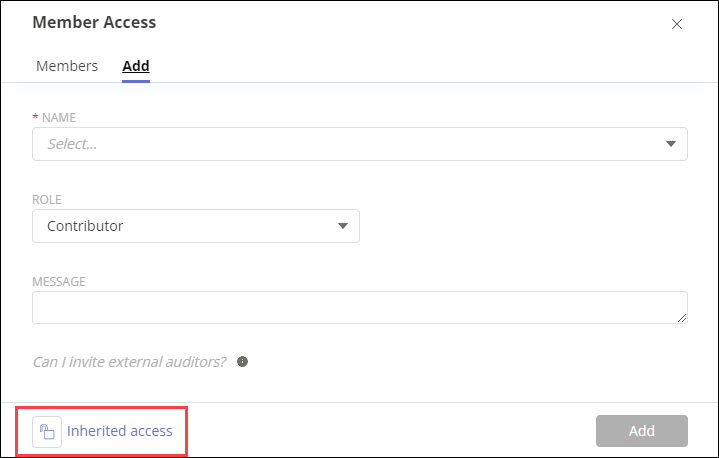
Click the lock icon next to Inherited access at the bottom of the window.
A confirmation window displays the number of members with inherited access who will lose access to the proof.
Click Confirm to make the proof private.
Close the Member access window.
A banner with a lock icon displays on the Proof viewer and indicates the number of people with access.

Click Done to close the Proof viewer.
Making proof private from the Proof Picker
The following options on the Proof Picker allow you to make proof private as you upload it:
My computer
Paste an image
Paste a link
Add integration
For more information on the Proof Picker, see Importing proof,
From the left menu, select Proof.
On the Proof page, click the Add proof button.
Select a source for the proof you want to upload and make private.
If you select My computer:
Click the drop-down arrow next to the My computer option and select Upload private proof.
Browse to a folder on your computer and select one or more files from the file list.
Click Open.
If you select Paste an image:
In the Name field, enter a name for the image. This field is required.
Make sure the image is copied to your clipboard.
Click in the box in the center of the Proof Picker.
Click the Paste button.
Scroll down below the image and select the Make proof private checkbox.
Click the Add proof button.
If you select Paste a link:
In the Link field, enter the link you want to add as proof. This field is required.
In the Name field, enter a name for the proof. This field is required.
Enter a description for the proof. This field is optional.
Select the Make proof private checkbox.
Click the Add proof button.
If you choose a Cloud storage integration, such as Google Drive:
Select the integration containing the proof you want to add, such as OneDrive.
If you have not already configured the connection to the integration, a pop-up window displays requesting your credentials. Configure it now.
Use the Search field or browse to the proof you want to add and select one or more files or folders.
Note
If you select a folder, all files in the folder are added as proof.
Optionally, turn on LiveSync to automatically update the selected proof when changes are made to the source file. If you selected a folder, all proof in the folder is monitored for changes. See Using LiveSync.
At the bottom of the Proof Picker, Select the Make proof private checkbox.
Click the Add proof button.
Uploaded proof displays in the proof list with a lock icon.