Importing controls into an existing program
Roles and permissions
The following roles can import controls into an existing program:
Anyone who is a manager or a contributor on a program, except for limited access users
Limited access users can't import controls into a program
Many Hyperproof program templates include sample controls to help you get started. However, if your organization has already developed its own set of controls, you can import them into Hyperproof.
Note
The steps below explain how to import controls into an existing program within your organization. If you want to import your own controls into the main controls list, refer to Importing your own controls.
Tip
Adding additional information does not overwrite existing data. During the import, Hyperproof searches for any exact data identifiers. If it doesn’t find any, it treats the data as new. If it finds a match, it updates the existing data.
Step One: Downloading the example CSV
The easiest way to start importing your own controls is by downloading Hyperproof’s example CSV. The example CSV provides the exact template for successfully importing controls into Hyperproof.
Prerequisite: A program that already exists.
From the left menu, select Programs.
Select your program.
Select the Controls tab.
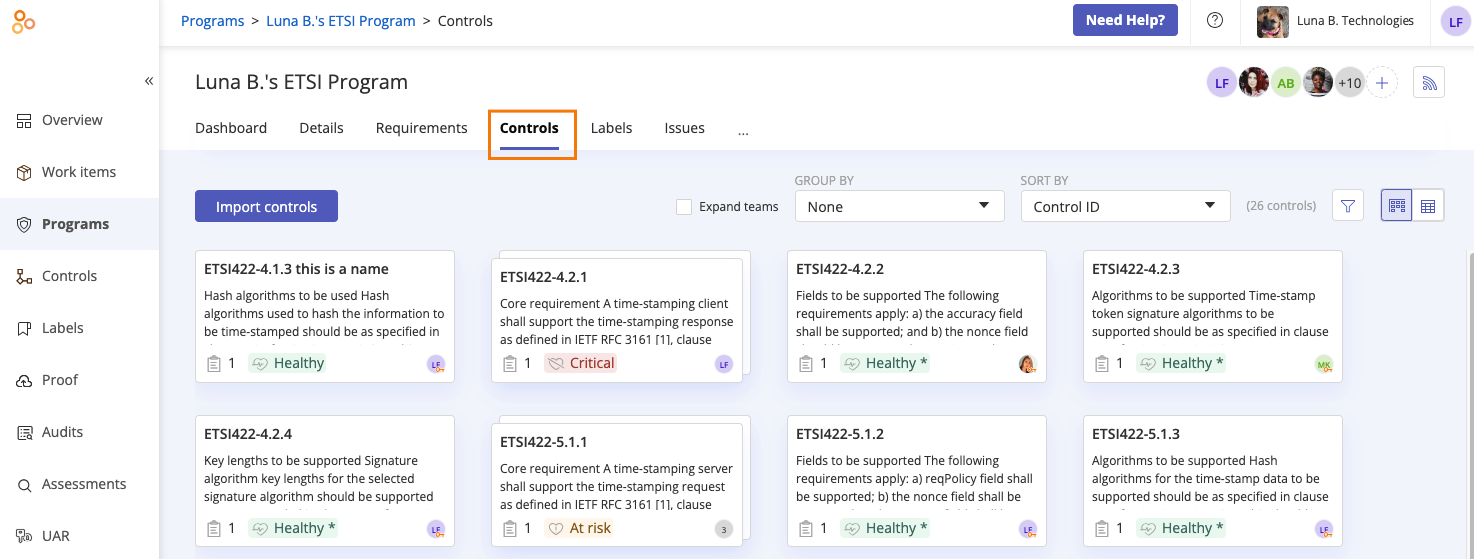
Click Import controls.
The Import controls window opens.
Click Download the example CSV.
Step Two: Editing the CSV
Replace the contents of the example CSV with your own controls. Be sure to follow the format of the example file to ensure that your controls are successfully imported.
Note
The CSV must contain ALL headings listed below, even if they are optional. Keep in mind that headings are case-sensitive!
Heading | |
|---|---|
ID | Should contain a control ID that's unique to your organization. This field is required. Tip: Control IDs play an important role in the import process and must be unique across your Hyperproof organization. If the control ID is not unique, this row is skipped. |
Name | This is the name of the control. This is an optional field. |
Description | This is the full definition of the control. It can be a multi-line string. This field is required. |
Domain | Used to group related controls, e.g. Change management, PeopleOps, etc. This is an optional field. |
Owner | Must be formatted as FirstName LastName (email address), i.e. Jennifer Cook (jcook@lunabtechnologies.org). This is an optional field. Tip: If no control owner is provided, the control is assigned to the individual who imports the CSV. Additional tip: The owner's email address must match the email address they use to sign in to Hyperproof. |
Group | The group the control is assigned to. This is an optional field. Tip: The group must already exist in your organization. Additional tip: Ensure group names are spelled exactly as they are in general: product-name. |
Maps to requirement | A field for linking a control to an existing requirement. This field is required. Note that you can only map to requirements which exist in the program you are importing your controls into. Tip: If mapping multiple control IDs to a requirement, enter the control IDs in a comma-separated format, i.e. 4.1.1, 4.1.2, 4.5.5. Additional tip: If the error "Please make sure that this control is mapped to a requirement that is included in this program, even when mapping to requirements that exist in program" occurs, verify that the missing requirement is not archived. If it's archived, it needs to either be unarchived or the control needs to be mapped to a different requirement. |
Notes | A field for any notes related to the control. This is an optional field. |
Implementation | A field for tracking the implementation of the control. This is an optional field. Tip: Hyperproof recognizes the following implementation statuses: Unknown, Not started, In progress, and Completed. |
Testing status | Used to track where the control is in terms of testing. This is an optional field. Tip: Hyperproof recognizes the following testing statuses: Not tested, In progress, Effective, and Ineffective. |
Custom fields |
Below is a snippet of a sample import file.

Step Three: Importing the CSV
After you’ve made the necessary changes to the CSV, it can be imported into Hyperproof.
Drag and drop the CSV file into the Upload CSV File field, or click Select file to upload to upload it manually.
Click Import.
Hyperproof checks the CSV to ensure that there are no errors. You’ll be alerted if Hyperproof encounters any errors.
If Hyperproof didn’t detect any errors, click Next. If Hyperproof detected errors, do one or both of the following:
First, use the Error viewer to identify the errors. Second, correct the errors directly in the CSV. This ensures that the CSV is up-to-date should you need to re-import in the future.
Tip
Use the forward and backward arrows to cycle through the errors. The Error viewer gives specific information on what needs to be corrected.
Remove rows that contain errors by clicking Remove all rows with errors. Note that this doesn't remove any data in the actual CSV.
Click Next.
The CSV is imported.
Importing duplicate controls
If Hyperproof detects any duplicate controls, it allows you to link existing controls, but doesn't import the duplicates. It provides you with the following options during the import process:
Update links of existing controls- Links the existing Hyperproof controls with the matching names or IDs to the program. The import does not update any data on the existing control.
Update the existing controls with values from this import - Updates the existing controls with the import data for any fields that are different, and then links the existing controls to the program.