Customizing the Risk Register
Roles and permissions
Anyone with manager permissions for the risk register
Risk Register customization is only recommended if you’re absolutely sure that the default values don’t suit the needs of your organization.
Note
If you are an administrator and are interested in this feature, contact the Customer Success team at customer_success@hyperproof.io.
To customize the Risk Register:
From the left menu, select Risk.
Select your Risk Register.
Select the Details tab.
Click Edit definition.
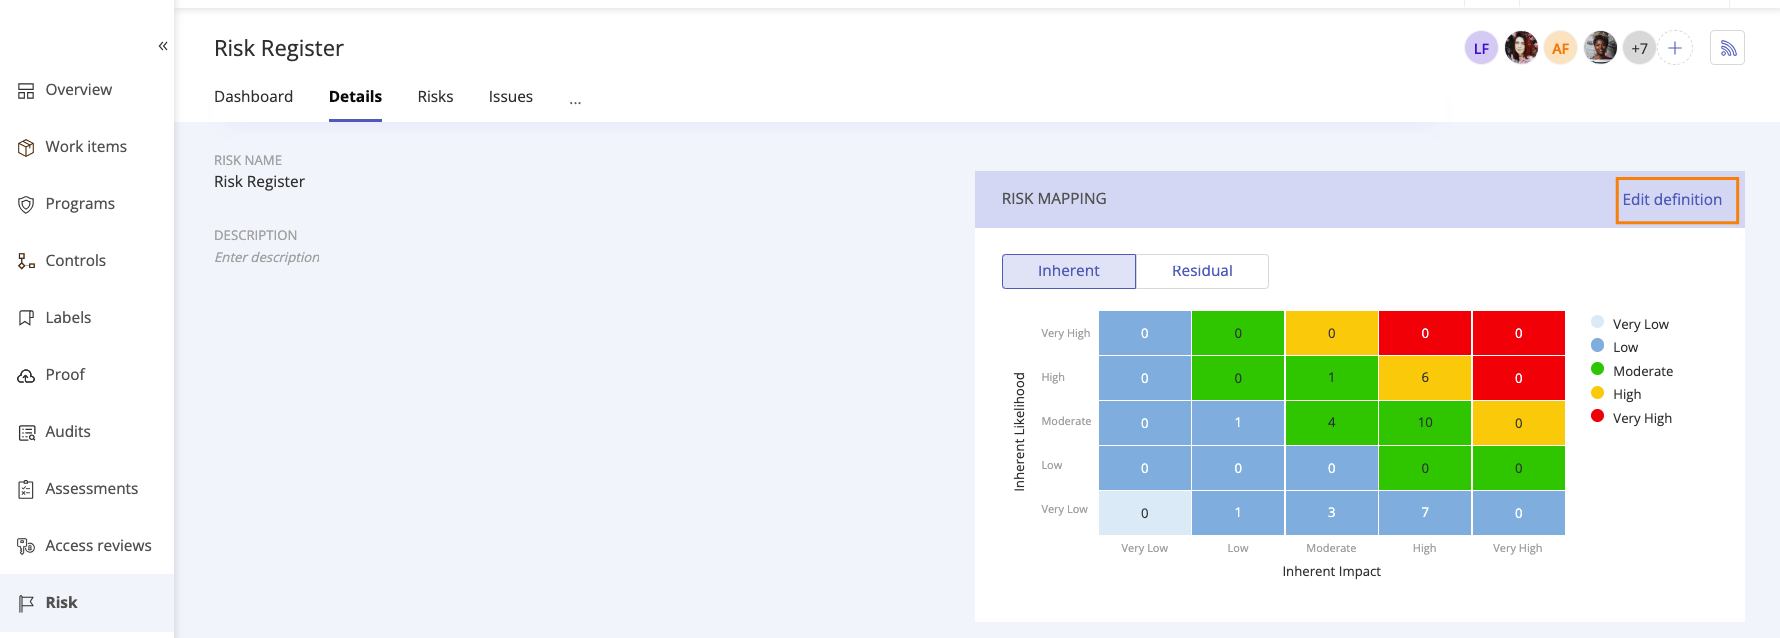
The Edit risk mapping window opens.
Do one or more of the following:
Add or remove points on the Likelihood scale. To add a point, scroll to the bottom and click Add likelihood level. To remove a point, mouse over the level and then click the Trash icon.
Add or remove points on the Impact scale. To add a point, scroll to the bottom and click Add impact level. To remove a point, mouse over the level and then click the Trash icon. Optionally, select the checkbox if you want to match the Impact scale to the Likelihood scale.
Adjust the numeric values for each level.
Rename the levels.
Change the color that represents a particular level.
Add descriptions to each level.
Click Next.
Do one or more of the following:
Add or remove risk levels. To add a level, scroll to the bottom and click Add risk level. To remove a level, mouse over the level and then click the Trash icon.
Rename the levels.
Change the color that represents a particular level.
Click Save.
Note
In instances where the number of risk levels has changed, e.g., from 5 (default) to 3, you’ll be prompted to either confirm the changes or re-map the levels.
To confirm the changes, select the Remove all previous values and reset impacted scales to not set radio button.
To re-map the levels, select the Choose mapping radio button. This allows you to determine where previous values fall within the new custom mapping. After you’ve made your selection, click Save.
To add custom columns to your Risk Register, add custom fields under Settings > Custom fields. After creating custom fields, you can add them as custom columns in the Grid view, by selecting the Settings gear icon and turning on the custom fields.