Hyperproof and Confluence
Hyperproof supports connections with Confluence Server and Confluence Data Center.
Note
When connecting Hyperproof to Confluence Server, your instance of Confluence must either be exposed to public internet OR you must add one of the following IP addresses to your IP allow list, based on the Hyperproof instance where your organization is hosted:
Hyperproof US IP addresses - 20.184.128.53
Hyperproof EU IP addresses - 9.141.172.46
Hyperproof Gov IP addresses - 4.154.201.6 and 4.155.77.155
Instances without custom ports should also add ports 443 and 80 to the allowlist.
Note
If using the Confluence integration with LiveSync, note that Hyperproof syncs the Confluence page URL and imports it as a PDF.
Hyperproof doesn't support connecting to Confluence folders or subfolders to collect files using LiveSync.
To connect Hyperproof to Confluence:
The connection can be made in any instance of the Proof Picker. The steps below walk you through connecting Hyperproof to Confluence Cloud via the Proof tab.
Note
If you are using Confluence Server or Confluence Data Center, follow the steps in this Atlassian article to generate a personal authentication token.
Make sure the account with the personal authentication token has viewing permissions for the space(s) and page(s) from which you want to pull proof. You can confirm this by logging into your service account and checking to see if you can view the spaces and pages you can normally access.
Currently, Hyperproof does not support shared connections for LiveSync or folder sync. To prevent the sharing of Confluence credentials, it's recommended that you create a Hyperproof service account, and then create a LiveSync connection using the service account credentials. You can then share the service account with other team members who need to set up LiveSync proof.
Enabling certain security policies in Confluence, can prevent proof from uploading successfully. For example, if the Prevent data export policy is enabled, you may be unable to upload proof from Confluence. If a Confluence file can't be uploaded, an Upload failed message is displayed in Hyperproof.
From the left menu, select Proof.
Click Add proof.
The Proof Picker opens.
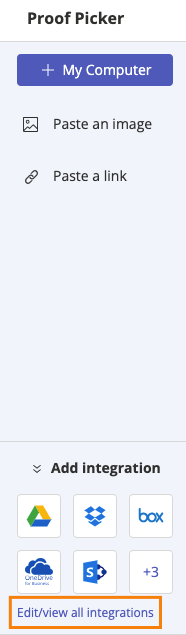
Below Add integration, click the Confluence icon. Note that you may need to click Edit/view all integrations if you don’t see the Confluence icon.
The Connect to Confluence window opens.
Below Confluence Site URL, enter your organization’s base Confluence URL, e.g. https://wiki.lunabtechnologies.com. Do not enter any sub-folders, e.g. https://wiki.lunabtechnologies.com/spaces/HD/overview.
Below Account Email Address, enter the email address associated with your Confluence account.
Below API Token, enter a Confluence token. If you don’t have a token, click the link at the top of the window. If you click the link, you’ll be redirected to your Atlassian account page. Click Create API Token. Enter a name for the token, and then click Copy. Refer to the note above for more information.
Click Connect.
Hyperproof is now connected to Confluence.
Close the Proof Picker window.
Note
If using the Confluence integration with Hyperproof's LiveSync feature, LiveSync converts the Confluence page URL to a PDF.