Importing a directory with a Hypersync
Roles and permissions
People with the following object roles can add a directory of company employees to an access review:
Manager or contributor permissions for the access review
During the access review setup process, you create a directory of employees, consultants, or interns. This information is combined with user records for specific apps to provide additional information during an access review. You can either import a company directory from a CSV file or create a Hypersync to retrieve the data and add it to your access review. See Importing a directory from a CSV file.
Hypersyncs can be configured to import directory data for an access review. The Hypersync runs once when you configure it. To update the directory, make sure the access review status is set to In Setup and manually sync the Hypersync. See Setting access review status for information on changing statuses during an access review.
Only certain Hypersyncs have proof types that are useful for importing a directory for an access review. When you select a Hypersync to create a directory, the list of proof types displayed is limited to those that contain directory data even though that Hypersync might support additional proof types when used in other areas of Hyperproof. Each directory supports no more than one Hypersync.
Note
If you plan to assign users' direct managers as reviewers for application user access lists, be sure that the directory you are importing has the name and email address of each employee's manager. If that information is missing and you select Direct manager as the reviewer when configuring your application user lists, the default sysadmin is assigned as the reviewer. See Using direct managers as reviewers for user access.
Hyperproof supports the following Hypersyncs to create a directory for an access review. Click the Hypersync name to see additional connection information for that Hypersync:
Microsoft Entra ID (formerly Azure AD)
When you are ready to configure a Hypersync to populate a directory, you can create a new directory or use an existing one.
To import a directory:
From the left menu, select Access reviews.
On the Access reviews page, select the access review where you want to add a directory.
Select the Setup tab.
The access review must be in the Setup status to add or refresh a directory.
To add a new directory:
Under Directory click the + New button.
The Add directory window displays.
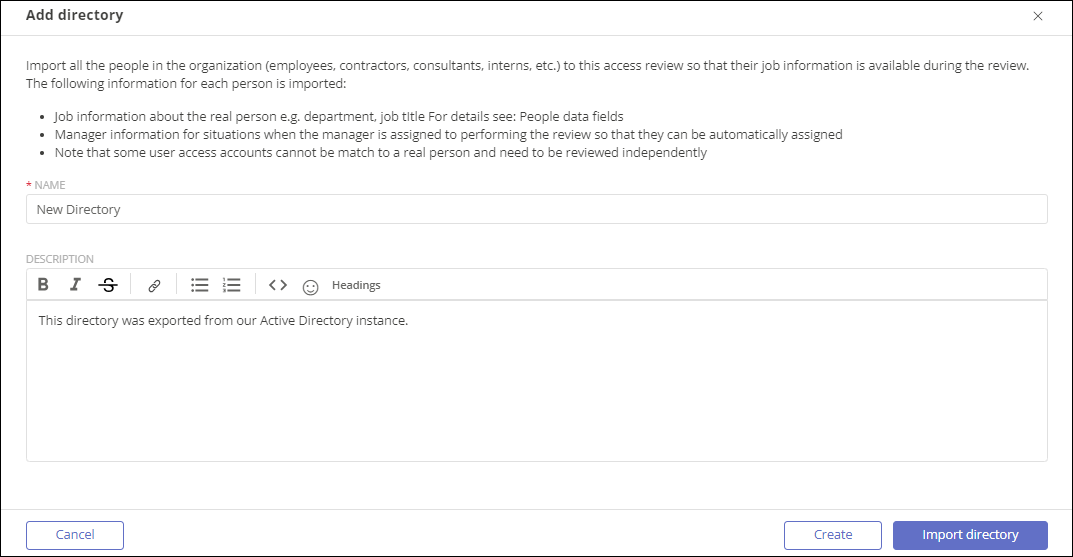
Enter a unique name for the directory. This field is required.
Enter a description for the directory. This field is optional.
Note
If you click Create, Hyperproof creates an empty directory that you can populate later from the Directory Details tab using the Create Hypersync button.
Click the Import Directory button.
The Choose app window displays.
Select the app to populate your directory. Continue with Step 6.
To use an existing empty directory: Select the directory name from the list of directories on the Setup tab to open it.
On the Details tab for the directory, click the Create Hypersync button.
The Choose app window displays.
Use the filter at the top of the Choose app window to find the app where the directory data will be pulled from, e.g., Azure or GitHub. You can search for apps by Name, App ID, or Category, such as Ticketing or Accounting apps.
Select the app to populate your directory. Continue with Step 6.
If this is the first time you configure a Hypersync for the selected app, you are asked for your credentials. Enter your credentials and click Next.
Note
The connection requirements for each application vary. For more information on a specific application, see Using Hypersyncs and access the help for your application from the list on that page.
In the Proof field, select the proof type from the drop-down list and click Next. Typically, there is only one option with a name similar to <Hypersync Name>- Directory.
In the Name field, enter a name for your Hypersync configuration, complete any other required fields, and click Save and sync.
The Hypersync syncs and displays in the Details tab. Use the options on the ... (More) menu inside the card to do the following:
Sync now - Refreshes the data in the directory.
Delete Hypersync - Deletes the Hypersync but not the data in the directory.
View connection - Displays the connection under Settings > Connected accounts and allows you to disconnect or modify connection credentials.
Settings - Opens the setup window for the Hypersync to select a different proof type. When using access reviews, this is unnecessary because only one proof type is available.