Exporting proof from an audit
Roles and permissions
The following roles can export proof from an audit:
Anyone with manager permissions for the audit
External auditors who are members of the audit
In Hyperproof, you have the option to export the following from an audit:
Requests with linked proof
This article explains how to export requests with linked proof.
Note
Hyperproof can turn off the ability for External auditors to download or export proof upon request.
Note
You can't export all proof in a single export. The maximum amount of proof you can export is 5GB. If you select more than 1GB of proof, Hyperproof exports it in batches of 1GB, up to a total of 5GB. For example, if you select 2.5 GB of proof, Hyperproof generates 2 ZIP files of 1GB each and a third ZIP file of 0.5 GB.
If your export contains more than 5GB of proof, the Export proof option is grayed out.
Exporting specific proof
The steps below explain how to pick and choose the proof files you want to export.
Note
You can only export private proof if you are a member of that proof. The lock icon in the grid next to the proof name indicates that a piece of proof is private.
From the left menu, select Audits.
Select your audit.
Select the Requests tab.
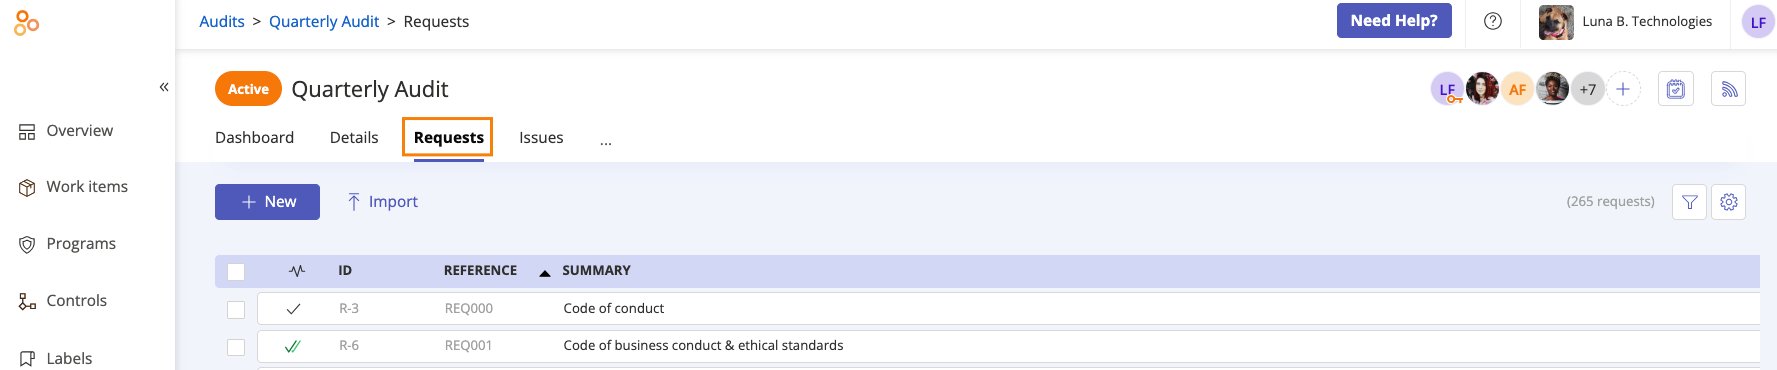
Select the checkboxes next to the requests whose proof you want to export. Optionally, select the All checkbox in the upper-left corner to select all requests.
Click Export, then click Export proof.
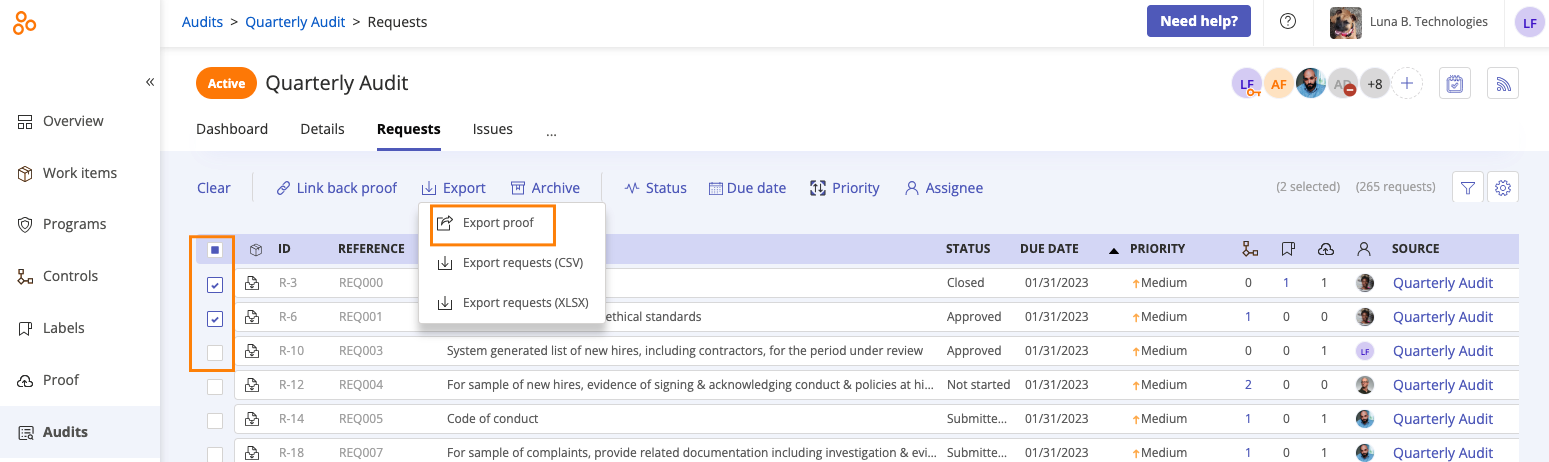
The Export proof window opens.
From the Organize By drop-down menu, select how you want the proof to be organized. Options include:
Flat List - All of the proof is exported into a single folder.
Control ID - proof is exported into a separate folder for each control.
Request reference - proof into a separate folder for each request.
Optionally, select one or both of the following checkboxes:
Prepend file name with control ID - Adds the ID of the associated control to the beginning of the proof file name.
Prepend file name with request reference - Adds the ID of the associated request to the beginning of the proof file name.
Note
Selecting the the Prepend filename with request reference checkbox is highly recommended.
If you select both checkboxes, the control ID displays first followed by the request ID. Example:
CABF1.3-1.b_REQ012_S3 Bucket Replication.pdf
Below Select date range, specify a particular date range.
Click Export. The proof is gathered in a single folder and downloaded as a zip file.
Exporting all proof from an audit
The steps below explain how to export all of the proof in an audit.
Note
You can only export private proof if you are a member of that proof. The lock icon in the grid next to the proof name indicates that a piece of proof is private.
From the left menu, select Audits.
Select your audit.
Select the … (More options) tab, then click Export proof.
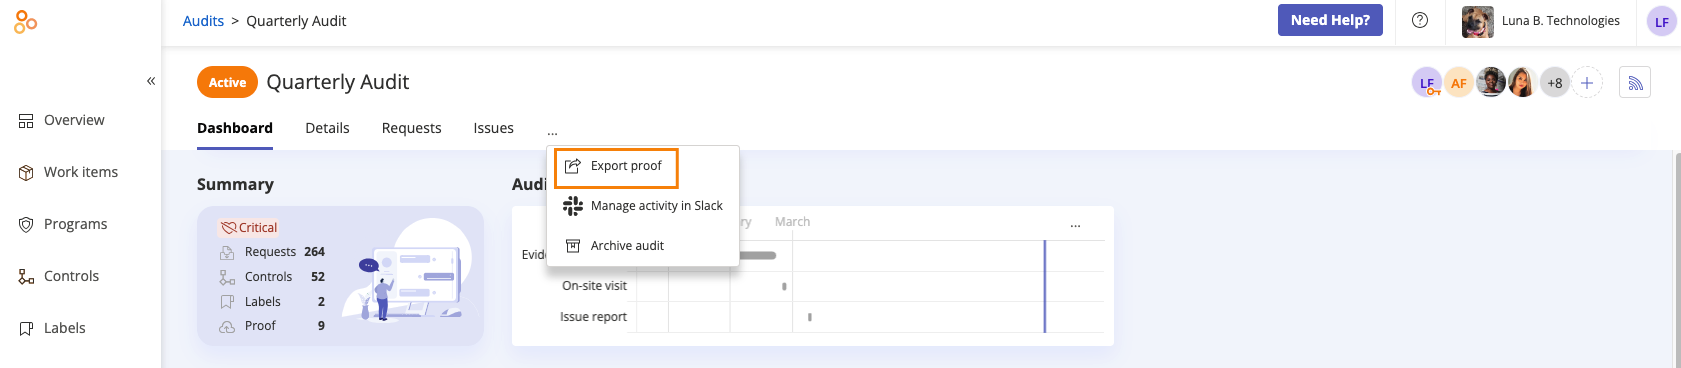
The Export proof window opens.
From the Organize By drop-down menu, select how you want the proof to be organized. Options include:
Flat List - All of the proof is exported into a single folder.
Control ID - proof is exported into a separate folder for each control.
Request reference - proof into a separate folder for each request.
Optionally, select one or both of the following checkboxes:
Prepend file name with control ID - Adds the ID of the associated control to the beginning of the proof file name.
Prepend file name with request reference - Adds the ID of the associated request to the beginning of the proof file name.
Note
Selecting the the Prepend filename with request reference checkbox is highly recommended.
If you select both checkboxes, the control ID displays first followed by the request ID. Example:
CABF1.3-1.b_REQ012_S3 Bucket Replication.pdf
Below Select date range, specify a particular date range.
Click Export. The proof is gathered in a single folder and downloaded as a zip file.
Audit overflow menu
Watch this video for a short overview of the overflow menu and how to export proof.