Creating a risk
Roles and permissions
The following roles can create a risk:
Anyone with manager or contributor permissions for the Risk Register
The steps below explain how to create a single risk. To create multiple risks at once, you can add them to a CSV and then import them into Hyperproof.
From the left menu, select Risk.
Select your Risk Register.
Select the Risks tab.
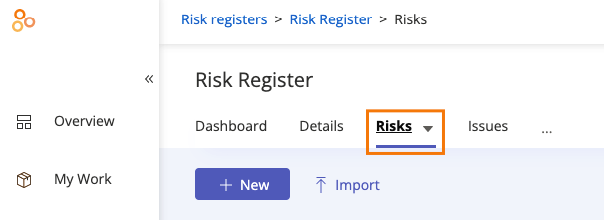
Click the New button to add a risk.
The Create new risk window opens.
Below Risk ID, enter an ID for the risk.
Below Risk Name, enter a descriptive name for the risk.
Below Description, enter a description of the risk.
From the Assign by drop-down menu, select either Individual or Group. This determines who is responsible for managing the risk. The default setting is Individual.
From the Owner drop-down menu, select the individual who owns the risk. Note that contacts can also be risk owners.
Optionally, do any or all of the following:
From the Inherent Likelihood drop-down menu, select the status that best represents the chance of the risk happening.
Below Rationale for Likelihood, enter the reason for the status selected in the previous step.
From the Inherent Impact drop-down menu, select the status that best represents the risk's impact on your organization if it occurs.
Below Rationale for Impact, enter the reason for the status selected in the previous step.
From the Tolerance drop-down menu, select the status that best represents the level of risk your organization is willing to take.
From the Category drop-down menu, select the category the risk falls into. See Risk categories for more information.
From the Response drop-down menu, select the status that best represents your organization’s response should the risk happen.
Transfer - Risks that have been turned over to another party.
Accept - Risks that have been accepted because their repercussions aren’t considerable.
Avoid - Risks that are intended to be averted; no controls are put in place.
Mitigate - Risks with controls to avoid adverse repercussions.
Select one or more custom fields to attach to the risk.
Click Create.
The risk is created.
Tip
At any time, you can view a health snapshot of a risk from the Details tab. You can also override risk statuses by hovering over a status and then clicking the Edit icon.