Editing an issue
Roles and permissions
The following roles can edit an issue:
Anyone with manager permissions for the issue
Issues can be edited individually or in bulk.
Tip
For more information, see the Working on issues video at the bottom of the page.
Editing a single issue
From the left menu, select the tab that corresponds with the issue you want to edit. For example, if you want to edit an issue linked to a control, select the Controls tab.
Tip
Active issues can also be accessed via Work items. From the left menu, select Work items, then select the Issues tab.
Select the specific object that the issue is linked to. For example, if the issue is linked to control ID 1234, select that control.
Select the Issues tab.
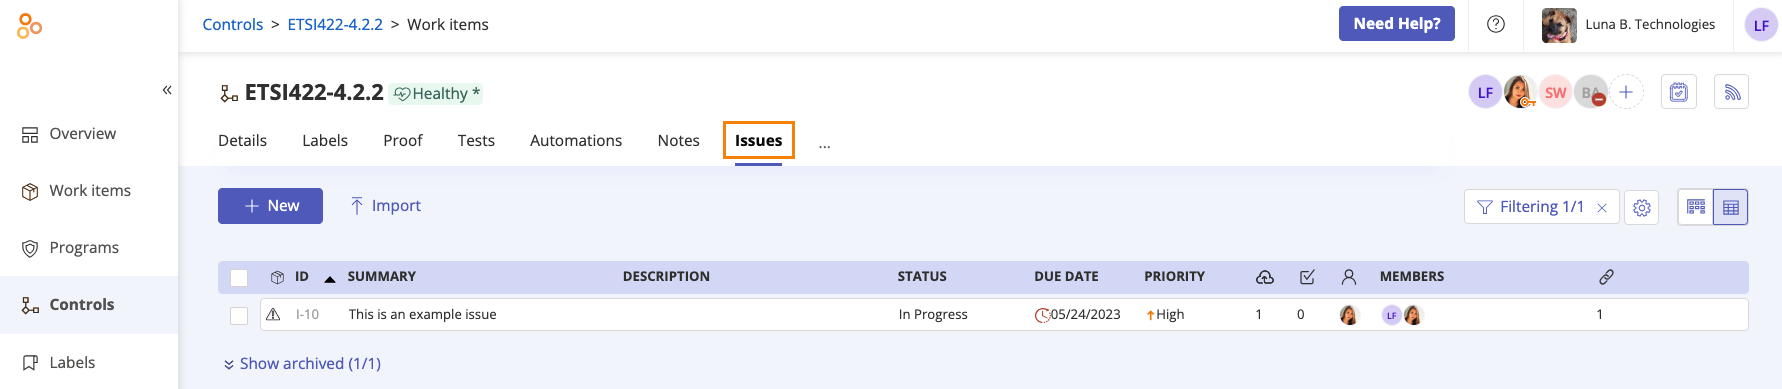
Select the issue.
From the right pane, do any or all of the following:
Change the status of the issue
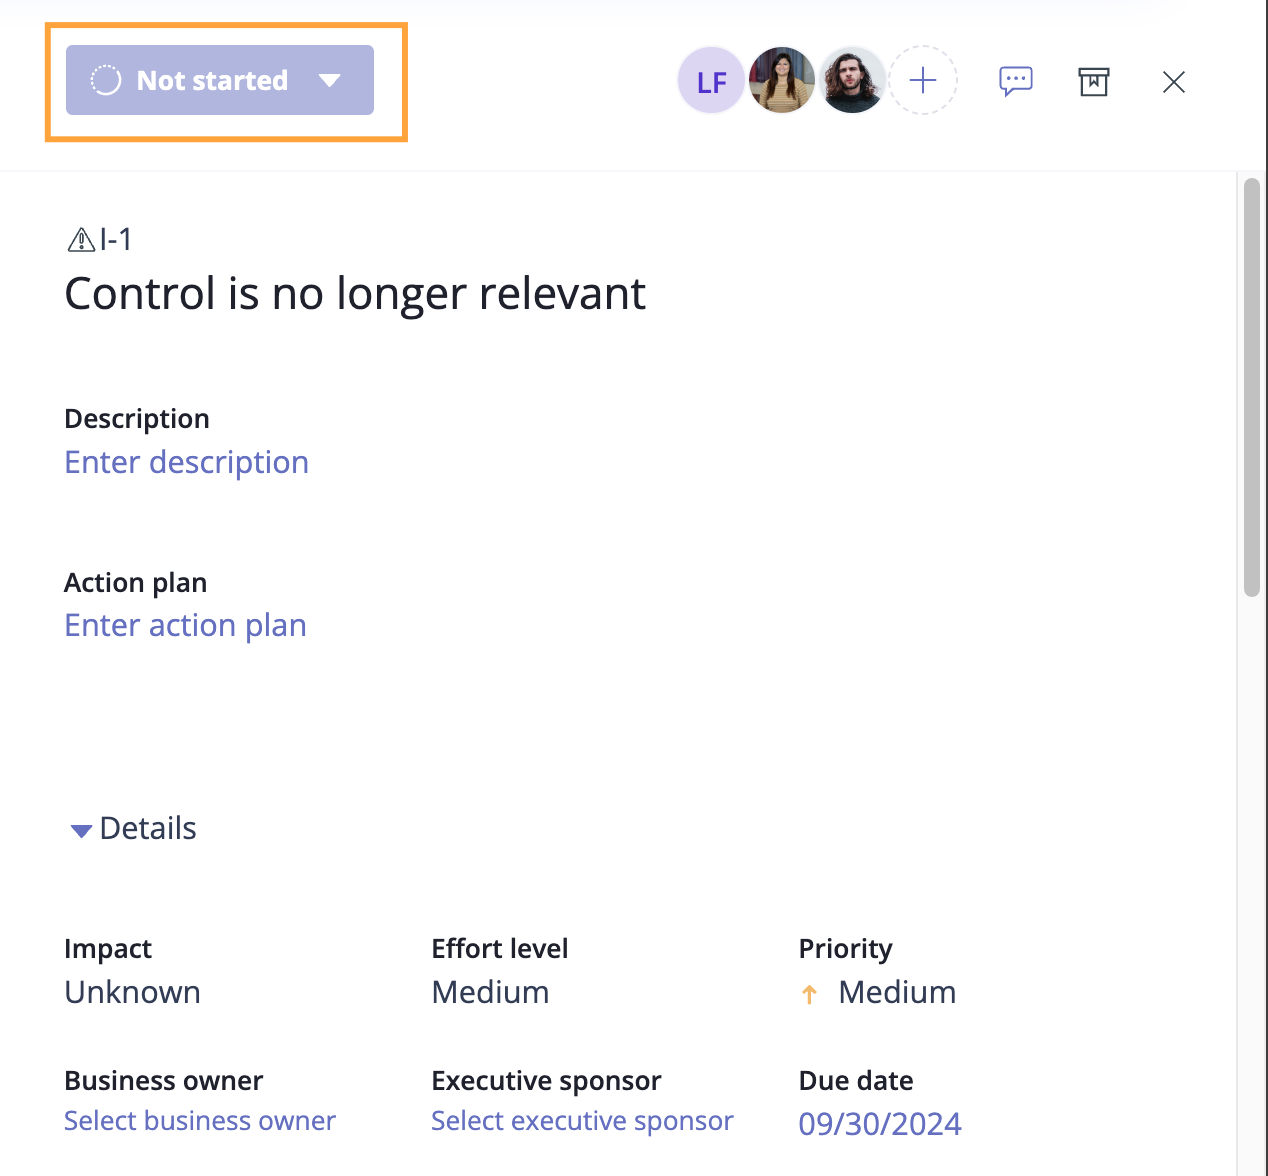
Issue statuses include:
Not started - Work on the issue has not yet started
In progress - The issue is currently being worked on
Remediated - The issue has been addressed
Accepted - The potential harm is not great enough to warrant spending effort to avoid the issue
Edit the name of the issue
Enter a description of the issue
Enter an action plan
Change the issue assignee. This can be an individual user or group.
Adjust the impact, effort level, or priority
Change the business owner and/or executive sponsor
Enter the due date and/or the discovery date
Enter the day the issue was closed
Edit the source. The source is the primary object for which the issue was created. The source can be changed, but it cannot be deleted. The source is also one of the affected objects.
Link or unlink affected objects. Affected objects are links to all the objects that may be affected by an issue. The source will always be listed as one of the affected objects. An issue will appear on the Issues tab of all the linked objects. Affected objects can be linked and unlinked as needed.
Click the facepile in the right pane to manage user permissions for the issue
Communicate with team members via the Activity Feed
Editing issues in bulk
From the left menu, select Work items.
Select the Issues tab.
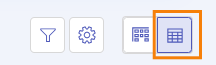
Click the Grid view icon.
Select the checkboxes next to the issues you want to edit.
To select all issues, select the All checkbox in the upper-left corner of the grid.
Do any of the following:
Click Export to export the selected issues to a CSV or XLSX.
Click Status to change the status of the selected issues.
Click Due date to change the due date on the selected issues.
Click Assignee to change the assignee of the selected issues. This can be an individual user or group.
Click Priority to change the priority of the selected issues.
Click Discovered on to change the date on which the selected issues were discovered.
Click Closed on to change the date on which the selected issues were closed.
Click Business owner to change the business owner for the selected issues.
Click Executive sponsor to change the executive sponsor for the selected issues.
Click Impact to change the impact level of the selected issues.
Click Effort level to change the effort level of the selected issues.
Click Members to add or remove members or groups, or change permissions on the selected issues. Note that you can only edit members if you have permission to do so on the selected issues.
Working on issues
Watch this short video for more information on editing issues.