Editing or removing a custom field
Roles and permissions
Only administrators can edit or remove a custom field
From the left menu, select Settings.
Select Custom fields.
Locate the custom field, and then do one of the following:
Click Edit to edit the field. Make any necessary changes, then click Save.
Click Delete to remove the field, then click Delete permanently.
A note about deleting custom field values
By design, a custom field value cannot be deleted if it's in use anywhere in Hyperproof. This includes archived objects.
There are two options for this:
Delete the entire custom field configuration - Perform this action if you want to completely delete the custom field and all of its values from all Hyperproof objects. Note that there is no way to reverse this action! Follow the instructions in the steps above.
Search for and replace a specific value - Follow the steps below.
From the left menu, select the tab that corresponds with the object the custom field is linked to. For example, if the custom field is linked to controls, select the Controls tab.
Click the Grid view icon.

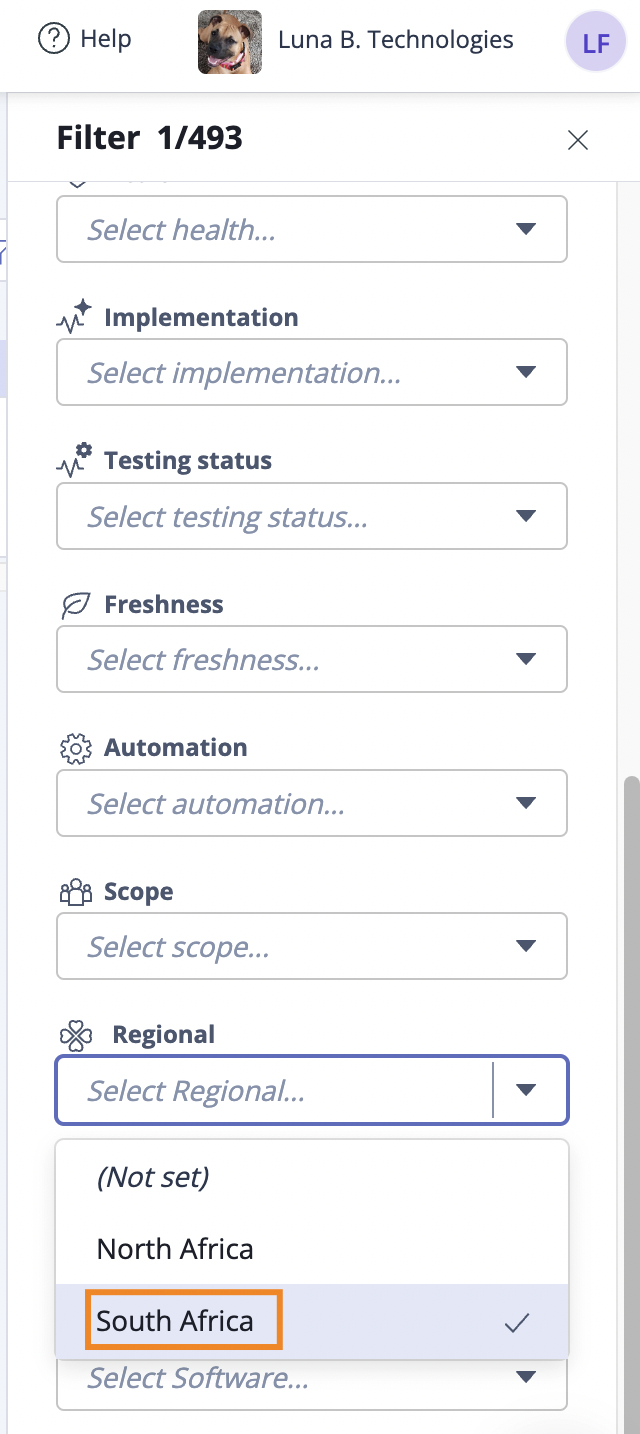
Click the Filter icon.

Locate the drop-down menu for the custom field, then select the value you want to delete.
Select the checkboxes next to the objects with the custom field value you want to delete. To select all, select the All checkbox in the upper-left corner of the grid.
Select the ... (More options) tab, then select the custom field.

The Edit window opens.
Select the value you want to change the custom field to, then click Confirm.

The custom field value is no longer linked to the objects you selected in Step 2d. Because the value is not in use anymore, it can be deleted from Hyperproof:
Go to Settings > Custom fields.
Locate the custom field with the value you want to delete.
Click Edit.
Scroll to the values, then click the X next to the value you want to delete.
Click Save.