Adding a vendor to the Vendor Register
Roles and permissions
The following roles can add a vendor:
Anyone who is a member of the Vendor Register
Limited access users who are managers of the Vendor Register
The steps below explain how to add a single vendor to the Vendor Register. To add multiple vendors at once, refer to Importing vendors.
If you find that you need specific fields for vendors beyond the standard fields provided, create custom fields and link them to the vendor object. Note that when creating a custom field, you can choose the multiple-select field type, which allows you to select and store multiple values in a single field. For example, if you want to track multiple products for a vendor, a multiple select custom field is a good solution.
Note
Hyperproof doesn't generate reminders or notifications based on custom fields. Depending on the object, you can generate reminders using freshness settings instead.
See Working with custom fields.
To add a vendor:
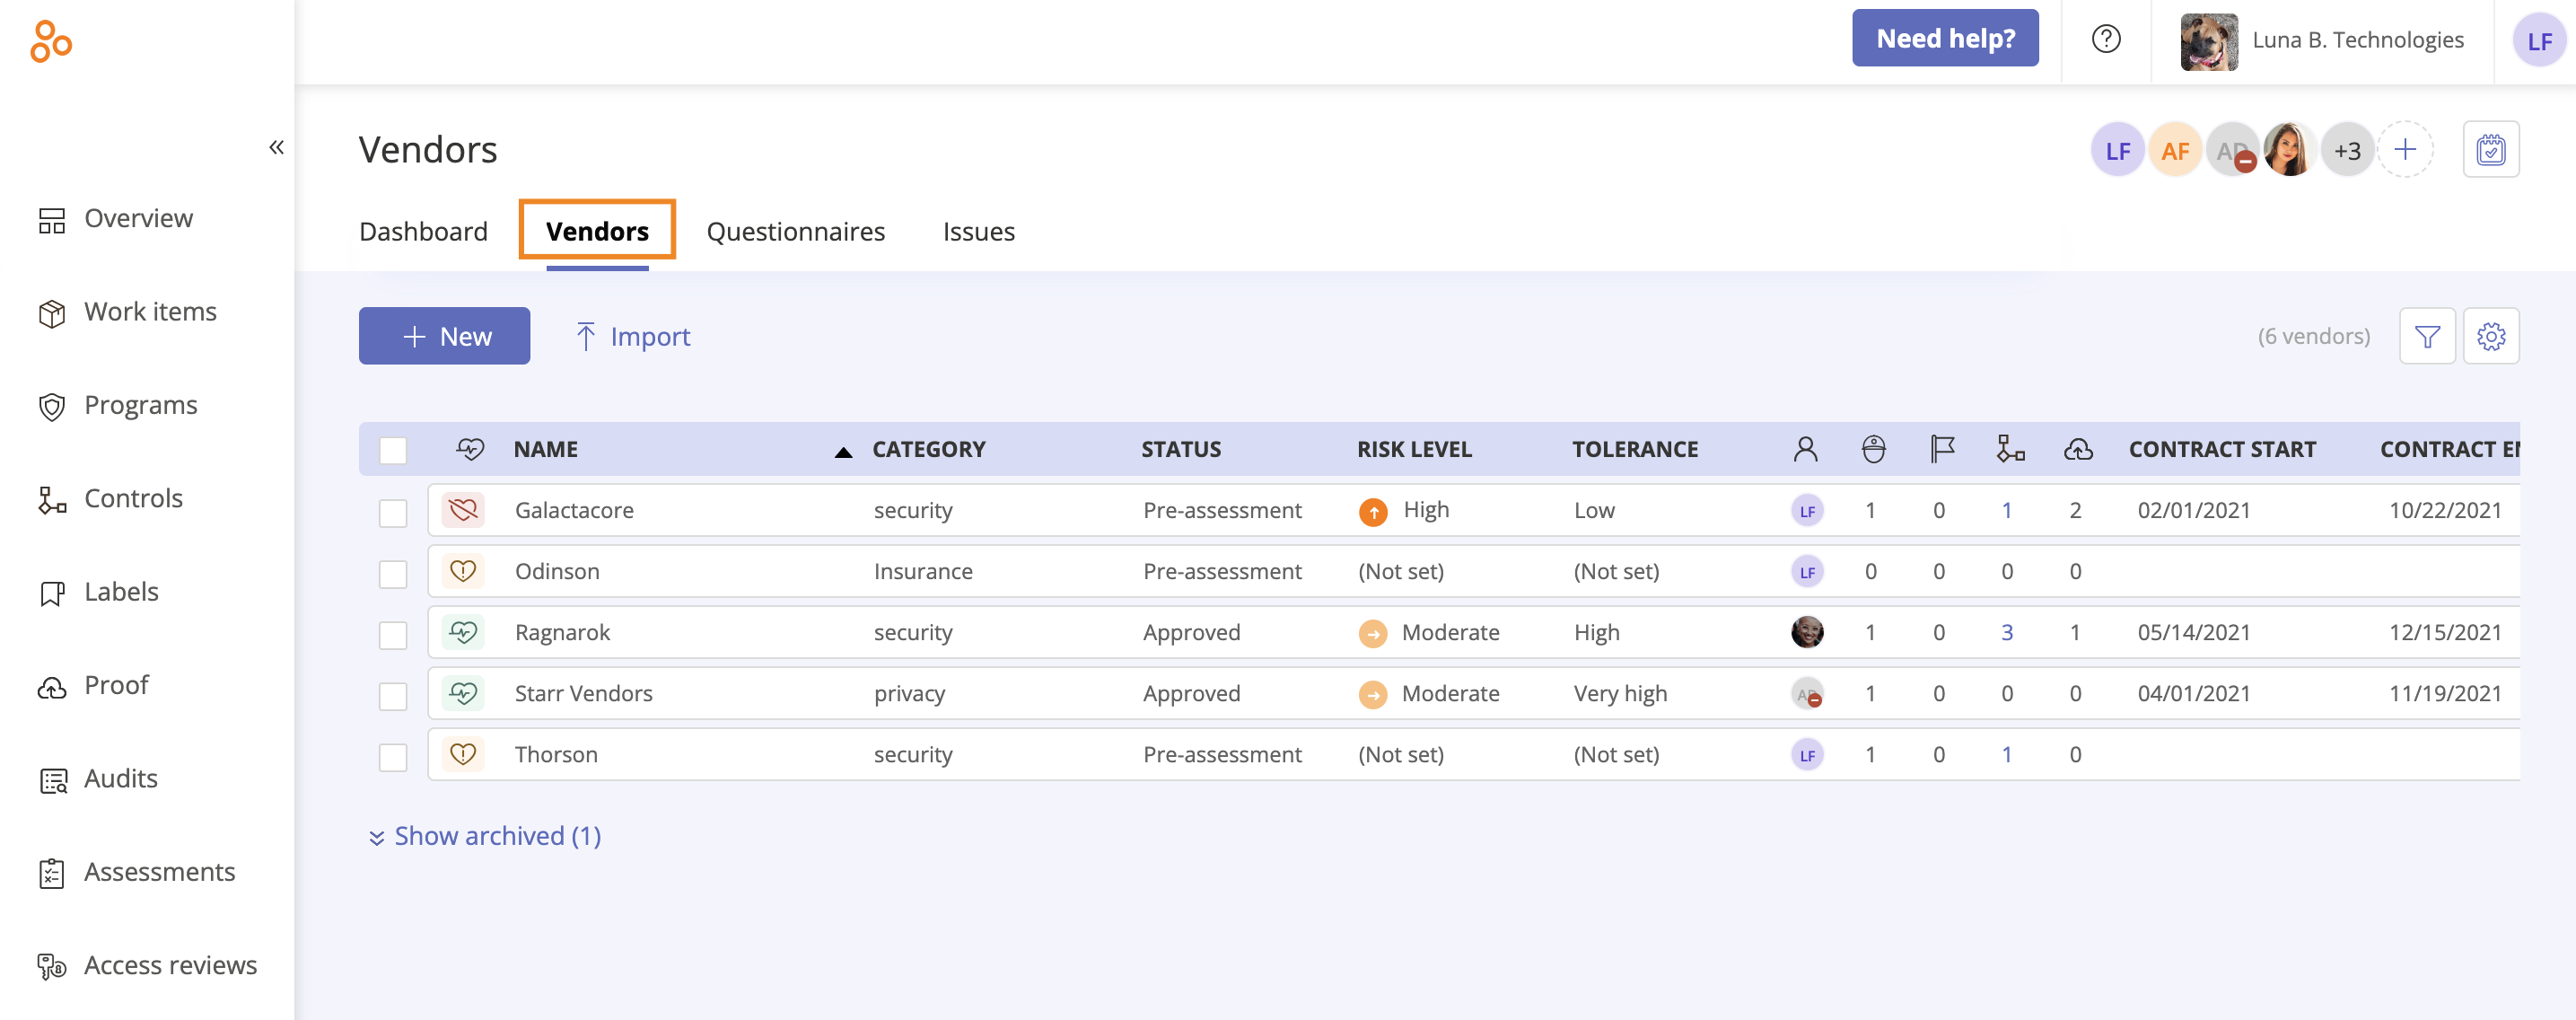
From the left menu, select Vendors.
Select the Vendors tab.

Click New.
The Create new vendor window opens.
Enter the following:
Vendor name (required) - The name of the vendor. Note that vendor names must be unique.
Assign by individual (default) or group - If you want to assign the vendor to a group, hover over Individual, then click the Edit icon. Select Group.
After selecting the Group option, select the group name from the Group drop-down menu.
Owner (required) - The individual in your organization responsible for the vendor. Contacts can be vendor owners.
Note that if a group is assigned to the vendor, and the group has a lead, the lead is automatically designated as the owner. This can be changed from the Owner drop-down menu.
Status (required) - The vendor's standing in your organization.
Category (optional) - Categories help you classify your vendors. For example, if the vendor you added represents a security company, you can create a category called Security.
Vendor contacts (optional) - Your point of contact (or contacts) for the vendor. Click Add vendor contact to add a new contact.
Select one or more custom fields to attach to the vendor (optional).
Click Create.
The vendor is added to the Vendor Register.